
Not every kitchen comes with a walk-in pantry, or even a set of shelves. Many apartments and older homes offer nothing more than a cabinet, a corner, or a narrow closet with a bare floor. The good news: you can create an organized, easy-to-use pantry without installing a single shelf.
This guide walks you through a step-by-step process, from clearing out what you have to choosing freestanding storage that works in tight spaces.
Step 1: Empty and Edit Your Food Storage
Organizing starts with knowing exactly what you own. Pull everything out of your cabinets, closet, or wherever food currently lives.
- Check dates. Discard anything expired or stale, and note items you need to use soon.
- Combine duplicates. Merge half-open bags of the same pasta or rice into one container.
- Donate unopened extras you won’t use, if they’re within date and your local food bank accepts them.
- Wipe down the space before anything goes back in.
Editing first means you’ll organize less stuff, and you’ll buy only the storage you actually need.
Step 2: Sort Food Into Categories
Group what’s left into logical categories. Common groupings include:
- Breakfast items (cereal, oats, spreads)
- Grains and pasta
- Canned goods
- Baking supplies
- Snacks
- Oils, vinegars, and sauces
- Spices and seasonings
- Drinks (tea, coffee, drink mixes)
Your categories should reflect how you cook. If you bake rarely, baking supplies can go somewhere less accessible. If your household snacks constantly, give snacks a prime spot.
Step 3: Measure Your Available Space
Before buying anything, measure carefully. Note:
- The width, depth, and height of each cabinet or closet
- The size of any floor space you could use
- The inside of cabinet and closet doors, including clearance for hinges
- Any gaps between appliances, such as beside the fridge
- Wall space near the kitchen that could hold freestanding furniture
Write these measurements down and take them with you when shopping. A few centimeters can make the difference between a perfect fit and a return trip.
Step 4: Choose Freestanding Storage That Fits
Without built-in shelves, freestanding and portable storage does the heavy lifting. Here are the most useful options for small spaces.
Stackable Bins and Baskets
Stackable bins create instant “shelves” on a cabinet or closet floor. Choose bins with open fronts so you can grab items without unstacking. Clear bins let you see contents at a glance, while woven baskets look softer if your pantry is visible.
Expandable Tiered Risers
Tiered risers work like stadium seating for cans and jars. Placed inside a deep cabinet, they lift back-row items into view so nothing gets lost.
Rolling Carts
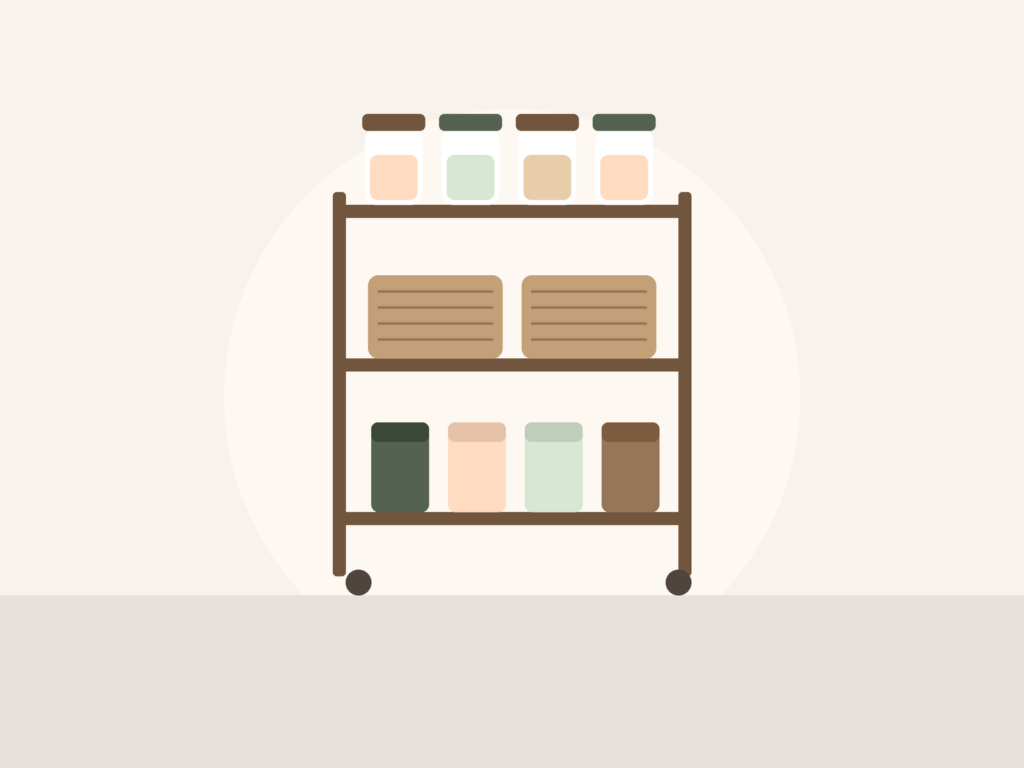
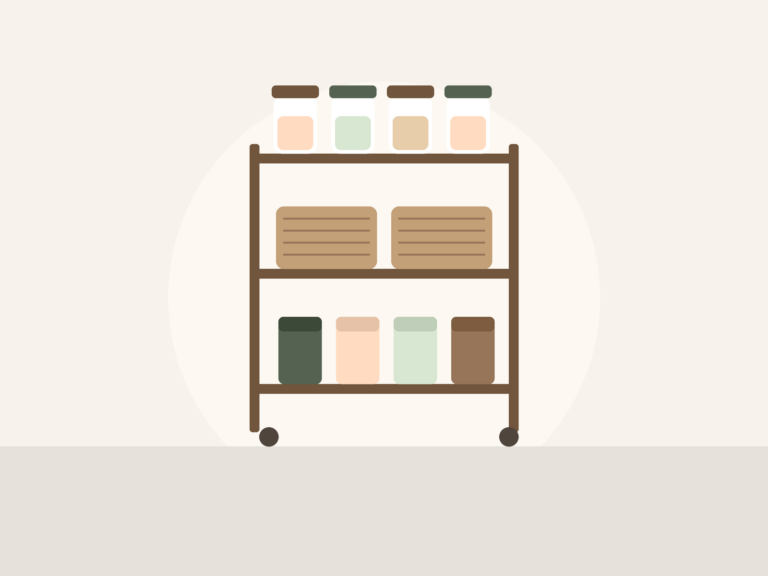
A slim three-tier rolling cart is one of the most versatile pantry tools. It can tuck beside the fridge, slide into a closet, or roll out when you cook. Use the top tier for everyday items and the lower tiers for bulk or backup supplies.
Over-the-Door Organizers
The back of a pantry or closet door is valuable vertical space. Over-the-door racks with baskets or pockets hold spices, snacks, packets, and small jars. They hang over the top of the door, so no drilling is required. Check that the door can still close fully once it’s loaded.
Freestanding Shelving Units
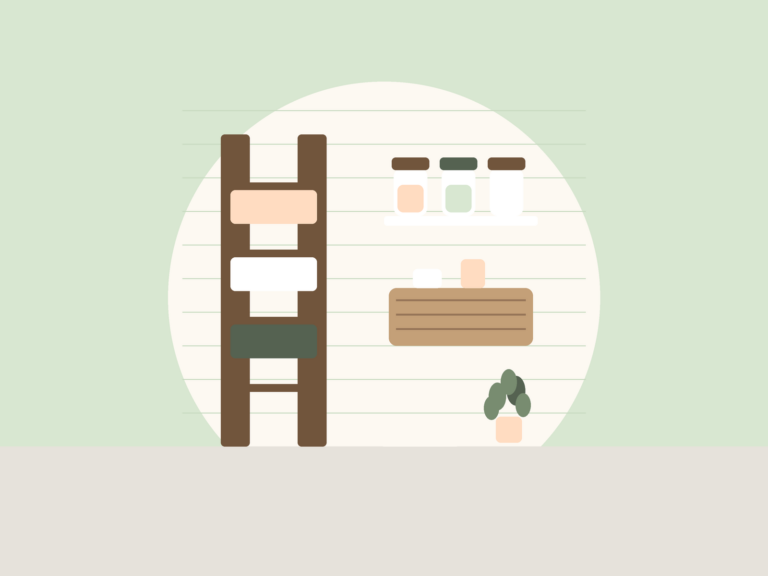
If you have floor space, a freestanding shelving unit or bookcase can become an entire pantry. Wire units are lightweight and adjustable, while wooden bookcases blend into living spaces. Anchoring tall furniture to the wall is recommended for safety, so if you can’t anchor it, choose a shorter, stable unit instead.
Under-Shelf Baskets and Cabinet Risers
If you have even one cabinet shelf, slip-on under-shelf baskets hang from it to create a second level. Small wire risers do the same job, doubling the usable surface for plates, cans, or jars.
Lazy Susans (Turntables)
A turntable is ideal for deep corner cabinets and for oils, sauces, and spices. One spin brings the back of the cabinet to the front.
Step 5: Decant Selectively
Moving food into matching containers can save space and look tidy, but it isn’t required. Decant where it makes sense:
- Do decant bulky or awkward packages like cereal, flour, sugar, rice, and pasta. Square or rectangular airtight containers use space more efficiently than round ones.
- Skip decanting items that are used quickly or come in compact packaging already, such as canned goods.
- Label everything you decant, including the expiration date and any cooking instructions you need.
Step 6: Assign Zones and Put Everything Back
Now place your categories into their new homes, using these principles:
- Prime real estate for daily items. Things you use every day go at eye and waist level.
- Heavy items low. Bulk bags, large bottles, and canned goods are safest near the floor.
- Kid-friendly zones. If children help themselves to snacks, place those items in a low, reachable bin.
- Backstock separate. Keep extra supplies in a bin labeled “backstock” so you don’t overbuy.
- Like with like. Keep each category together so you always know where to look.
Creative Spots for a Shelfless Pantry
If your kitchen truly lacks cabinet space, look beyond it:
- A hallway or coat closet fitted with a shelving unit or stacked bins.
- The top of the fridge for lightweight items in a basket, keeping vents clear.
- Under the sink in another room for backup paper goods, never food near chemicals.
- A sideboard or buffet in the dining area, which can hide food storage in plain sight.
- Under the bed or a bench for bulk, sealed nonperishables you rarely access.
Small Pantry Organizing Checklist
- ☐ Everything removed, checked, and expired items discarded
- ☐ Food sorted into categories that match how you cook
- ☐ Space measured, including doors and gaps
- ☐ Freestanding storage chosen to fit those measurements
- ☐ Bulky items decanted into labeled containers
- ☐ Daily items at eye level, heavy items low
- ☐ Backstock bin created
- ☐ Monthly check-in scheduled
Keeping Your Pantry Organized
A small pantry stays tidy when it has a simple maintenance rhythm:
- Do a quick check before grocery shopping. Note what’s running low and what needs using up.
- Practice “first in, first out.” Put new purchases behind older ones.
- Return items to their zones right after cooking.
- Reassess monthly. Spend five minutes tidying bins and clearing crumbs.
Frequently Asked Questions
How can I store food if I have no pantry at all?
Combine a rolling cart, a freestanding shelving unit, and an over-the-door organizer. Together they can hold most everyday dry goods. Use other furniture, like a sideboard or closet, for backup supplies.
Are clear containers worth it?
They’re helpful for bulky staples because you can see what’s running low at a glance. You don’t need to decant everything, though. Start with a few items you use most and expand only if it helps.
How do I stop food from getting lost at the back?
Use tiered risers, turntables, and pull-out bins. Each brings items toward the front, so you can see and reach everything without digging.
Is it safe to store food in a closet outside the kitchen?
Generally, yes, for sealed dry goods, as long as the space is cool, dry, and away from cleaning chemicals and heat sources. Keep food in sealed containers to protect it from pests.
A Pantry That Works for You
You don’t need custom shelving to have a functional pantry. By editing what you own, measuring carefully, and choosing a few smart freestanding pieces, you can turn almost any small space into storage that’s easy to use and easy to maintain. Start with one category today, and build from there.



Leave a Reply